How To Grow an Apple Tree from an Apple
Turning an ordinary apple into a flourishing tree might seem tricky, but with the right steps and a bit of patience, you can do it! Apple seeds need special conditions to sprout, so knowing the right process is key. This guide will show you how to grow an apple tree from an apple, so you can enjoy homegrown apples in the future.
Excited to get started? Let’s dive in!
Key Takeaways
- Apple seeds need stratification (cold treatment) before planting.
- Not all apples grow true to type, so the fruit may differ from the original apple.
- Seedlings require patience, as they take years to mature and produce fruit.
- Proper soil, sunlight, and watering are essential for healthy growth.
- Transplanting the sapling to an outdoor location is crucial for long-term success.
Step 1: Collect and Prepare Apple Seeds

Growing an apple tree from an apple starts with collecting and preparing the seeds properly. Follow these easy steps to ensure your seeds have the best chance to sprout.
1. Choose an Organic Apple
- Pick an organic apple from a grocery store or farmer’s market.
- Organic apples are better because non-organic apples are often treated with chemicals, which can prevent seeds from sprouting.
- Any apple variety will work, but remember, the tree that grows may produce apples different from the one you started with.
2. Remove and Clean the Seeds
- Cut the apple carefully and take out the seeds from the core.
- Try to collect at least 5-10 seeds because not all of them will sprout.
- Rinse the seeds under lukewarm water to wash away any leftover fruit, which can cause mold or bacteria to grow.
3. Dry the Seeds
- Place the washed seeds on a paper towel and let them dry completely.
- Leave them at room temperature for about 24 hours.
- This drying step helps remove excess moisture, which can prevent seeds from rotting when planted.
Once the seeds are dry, they are ready for the next step: stratification (cold treatment), which helps them sprout.
Step 2: Stratify the Seeds

Apple seeds need a cold period, called stratification, to wake them up from their dormant (sleeping) state. In nature, apple seeds go through winter before sprouting in spring. Since we are growing them at home, we need to simulate winter by keeping them in a cold environment.
Follow these simple steps to stratify your apple seeds:
1. Prepare a Damp Paper Towel
- Take a clean paper towel and make it slightly damp with water.
- The towel should be moist but not soaking wet, as too much water can cause the seeds to rot.
2. Wrap the Seeds in the Towel
- Place the apple seeds in a single layer on one side of the damp paper towel.
- Fold the towel over to cover the seeds completely.
3. Store in a Plastic Bag
- Put the damp paper towel with the seeds inside a ziplock bag or a small plastic container.
- Seal the bag loosely so that a little air can circulate, preventing mold growth.
4. Refrigerate for 6–8 Weeks
- Place the bag in the refrigerator, not the freezer. The ideal temperature is 32–40°F (0–4°C).
- Keep the bag in a safe spot, where it won’t be disturbed.
5. Check Periodically
- Every one or two weeks, open the bag and check the seeds.
- If the paper towel is too dry, spray a little water to keep it damp.
- If you see any mold, remove the affected seeds and replace the paper towel.
6. Wait for Sprouting
- After 6–8 weeks, some seeds will start growing tiny white roots.
- Once the roots appear, the seeds are ready for planting in the soil.
This cold treatment tricks the seeds into thinking winter has passed, helping them sprout successfully when planted. Now, you’re ready for the next step—planting the germinated seeds!
Step 3: Planting Germinated Seeds

Once your apple seeds have sprouted after the cold stratification process, it’s time to plant them in the soil so they can grow into small trees. Follow these simple steps to give your seedlings the best start.
1. Choose the Right Pot and Soil
- Use small pots (about 4-6 inches in diameter) with drainage holes at the bottom. This allows excess water to escape and prevents root rot.
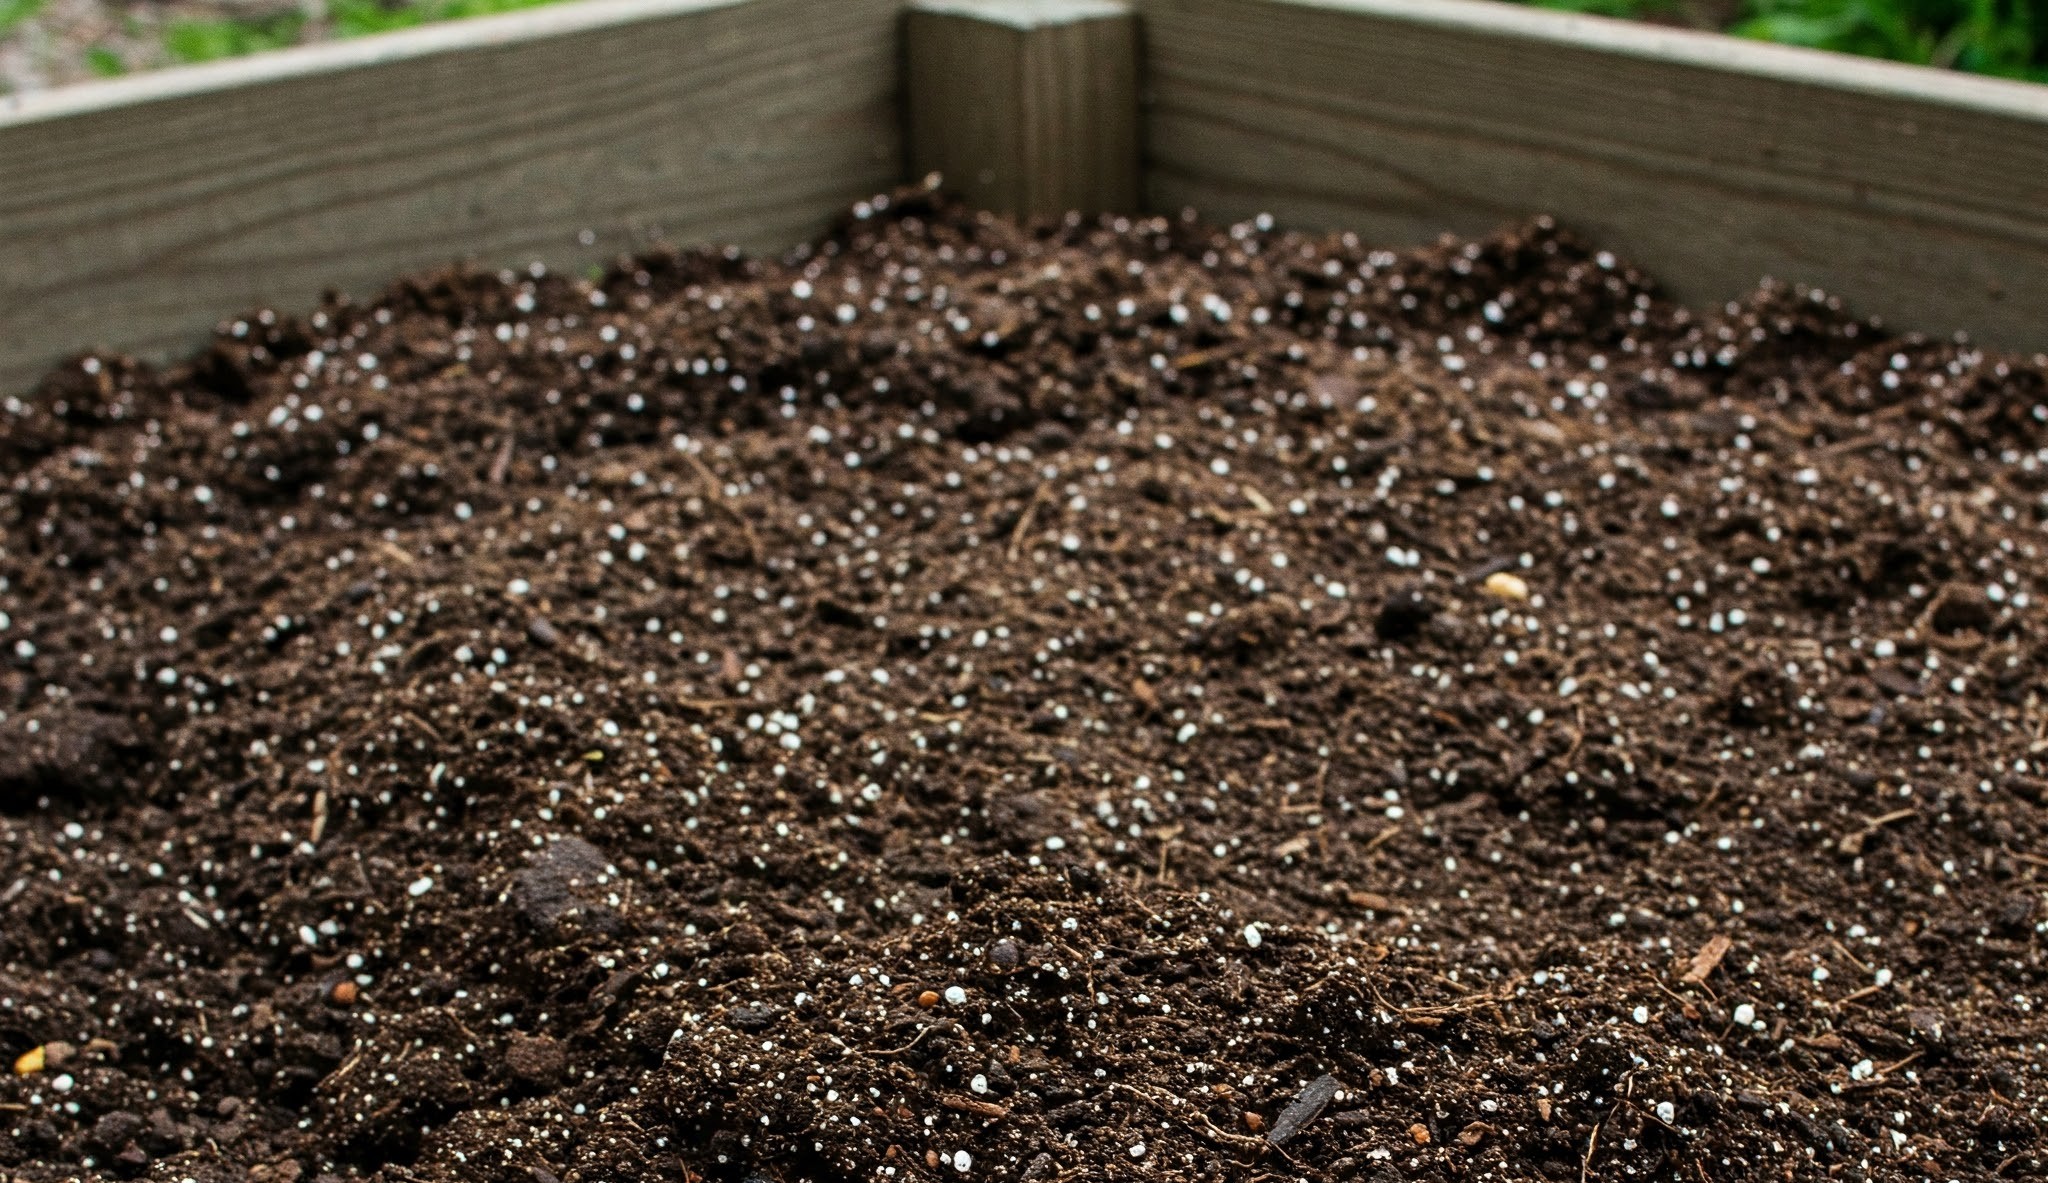
- Fill the pots with nutrient-rich, well-draining soil. You can use potting soil mixed with compost or perlite to ensure good drainage.
- Avoid using heavy, compacted soil, as it can hold too much water and suffocate the roots.
2. Plant the Sprouted Seed
- Take your germinated apple seed and carefully place it in the soil.
- Plant the seed about ½ inch (1.2 cm) deep, which is not too shallow or too deep.
- Cover it lightly with soil and do not press down too hard, as the seedling needs space to grow.
3. Provide the Right Environment
- Place the pot in a warm and sunny location, preferably near a window where it gets at least 6-8 hours of sunlight per day.
- The ideal temperature for growing apple seedlings is around 70°F (21°C).
- If you live in a cold area, you can use a grow light to provide enough warmth and light.
4. Watering the Seedling
- Keep the soil moist but not soggy. Water lightly whenever the top layer of the soil feels dry.
- Overwatering can cause root rot, so avoid soaking the soil.
- Using a spray bottle to mist the soil is a good way to keep it evenly moist without drowning the seedlings.
5. Be Patient and Watch It Grow
- The seedling will take a few weeks to a couple of months to grow into a small plant.
- Keep checking the leaves and soil moisture to ensure healthy growth.
- Once the plant becomes stronger and grows at least 6 inches tall, you can think about transplanting it into a larger pot or outdoor garden.
Your apple seedling will have the best chance of growing into a strong, healthy tree!
| Planting Requirements | Details |
|---|---|
| Soil Type | Loamy, well-draining |
| Sunlight | Full sun (6-8 hours) |
| Watering | Keep soil moist |
| Temperature | 65–75°F |
| Time to Sprout | 2–4 weeks |
Step 4: Transplanting Seedlings Outdoors
 Once your apple seedling grows to about 6 inches (15 cm) tall, it is strong enough to be moved outdoors. This step is important because apple trees need more space, sunlight, and fresh air to grow properly. Follow these simple steps to transplant your apple seedlings safely.
1. Choose the Best Location
- Find a sunny spot in your garden because apple trees need at least 6–8 hours of direct sunlight every day.
- The area should have good drainage, meaning water should not stay in puddles after rain.
- Avoid planting the tree too close to other trees, buildings, or fences, as it needs room to grow.
2. Prepare the Planting Hole
- Dig a hole that is twice as wide as the root ball (the cluster of roots and soil around the seedling).
- The hole should be deep enough to fit the roots but not too deep—the top of the root ball should be level with the ground.
- Loosen the soil around the hole so that the roots can spread easily.
3. Carefully Transplant the Seedling
- Gently remove the seedling from its pot by loosening the soil around the roots. Be very careful not to break or damage the delicate roots.
- Place the seedling in the hole and spread the roots out naturally.
- Fill the hole with soil, lightly pressing it down to remove air pockets but not too hard—it should stay loose so the roots can grow.
4. Water the Seedling Immediately
- After transplanting, give the seedling a good amount of water to help the roots settle in their new home.
- Watering deeply helps the plant absorb moisture and reduces transplant shock.
- Continue watering regularly, especially in the first few weeks after transplanting.
5. Add Mulch for Protection
- Spread a thin layer of mulch (wood chips, straw, or leaves) around the base of the seedling.
- Mulch helps the soil retain moisture, keeps the roots cool, and prevents weeds from growing.
- Do not place mulch directly against the stem—leave a small gap to prevent rot.
6. Monitor Growth and Care for the Young Tree
- Keep an eye on your apple seedling for the next few weeks to make sure it is adjusting well.
- If the leaves look wilted or yellow, it might need more water or better drainage.
- Protect it from pests and harsh weather by using a small fence or cover if needed.
Step 5: Caring for Your Apple Tree

Now that you have successfully planted your apple tree, it needs proper care to grow strong and healthy. Apple trees take a few years to produce fruit, but with the right care, they will thrive and give you delicious apples in the future. Follow these simple steps to take care of your apple tree.
1. Watering: Keep the Soil Moist but Not Too Wet
- Apple trees need deep watering to help their roots grow strong. Instead of watering lightly every day, it’s better to water deeply once a week.
- If the weather is hot or dry, you may need to water more often. Check the soil—if the top 2 inches (5 cm) feel dry, it’s time to water.
- Avoid overwatering, as too much water can cause root rot, which can harm the tree.
To help the tree absorb water slowly, make a small ring of soil around the base to hold water in place when you water it.
2. Fertilization: Feed Your Tree for Healthy Growth
- Apple trees need nutrients to grow strong leaves, branches, and fruit.
- In early spring, use a balanced fertilizer (such as 10-10-10) that contains nitrogen, phosphorus, and potassium.
- Apply the fertilizer around the base of the tree, but not directly on the trunk, as this can damage the bark.
- You can also use organic compost or manure to provide natural nutrients.
Do not over-fertilize, as too much fertilizer can lead to excess leaf growth and fewer apples.
3. Pruning: Trim Weak Branches for Stronger Growth
- Pruning means cutting off unhealthy, weak, or overcrowded branches to help the tree grow better.
- It’s best to prune apple trees in late winter or early spring before new leaves start growing.
- Use sharp pruning shears to remove dead, broken, or crossing branches.
- Keep the center of the tree open so that sunlight can reach all parts of the tree, which helps in fruit production.
Always cut branches at an angle and close to the main trunk or another branch. This helps the tree heal quickly.
4. Pest Control: Protect Your Tree from Insects and Diseases
- Apple trees can be attacked by pests like aphids, caterpillars, and apple maggots.
- Instead of using harmful chemicals, use organic pest control methods like neem oil or insecticidal soap to keep bugs away.
- If you see pests, spray the leaves and branches with neem oil once every two weeks.
- Remove fallen apples and leaves from the ground to prevent diseases from spreading.
You can also plant marigolds or basil near your apple tree because they naturally repel pests.
5. General Maintenance and Protection
- Keep the area around the tree free from weeds, as they compete for nutrients.
- If you live in a cold area, wrap the base of the tree with burlap in winter to protect it from frost.
- Watch for signs of disease, such as yellowing leaves or black spots, and treat them quickly with organic sprays or pruning.
Common Problems and Solutions
Growing an apple tree from a seed is exciting, but sometimes problems can occur. If your apple tree isn’t growing as expected, don’t worry! Below are some common issues and simple solutions to help your tree grow strong and healthy.
1. Problem: Seedling Not Sprouting
❌ What’s Wrong?
- After planting, some seeds do not sprout or take a very long time to grow.
- This happens when the seed has not gone through proper stratification (cold treatment).
- Other reasons include old or damaged seeds or planting the seeds too deep.
✅ Solution: Ensure Proper Stratification
- Make sure you store the seeds in a damp paper towel inside the refrigerator for 6–8 weeks before planting.
- Check the seeds every two weeks to make sure they haven’t dried out or rotted.
- Once the seeds develop small roots, plant them in the soil at the correct depth (½ inch).
- Be patient! Some seeds may take a few extra weeks to sprout.
2. Problem: Yellowing Leaves
❌ What’s Wrong?
- If the leaves of your apple seedling turn yellow, it usually means there is a problem with watering.
- Overwatering can drown the roots and prevent them from getting enough oxygen.
- Underwatering can also cause stress, leading to dry, yellow leaves.
✅ Solution: Check for Overwatering
- Touch the soil—if it feels too wet and soggy, reduce watering.
- Water the seedling only when the top 2 inches of soil feel dry.
- Use well-draining soil and make sure the pot has drainage holes to remove excess water.
- If leaves continue to yellow, check for pests or nutrient deficiencies, as these can also cause discoloration.
3. Problem: Stunted Growth (Not Growing Well)
❌ What’s Wrong?
- If your apple tree isn’t growing properly, it may not be getting enough sunlight, nutrients, or space.
- Apple trees need a lot of energy from the sun to grow.
- Poor soil quality or a lack of essential nutrients can also slow down growth.
✅ Solution: Provide Enough Sunlight and Nutrients
- Make sure your apple tree gets at least 6–8 hours of direct sunlight daily.
- Use a balanced fertilizer (such as 10-10-10) in early spring to give it essential nutrients.
- If your seedling is still in a small pot, consider transplanting it into a larger pot or outdoors, so the roots have enough space to grow.
| Problem | Solution |
|---|---|
| Seedling not sprouting | Ensure proper stratification |
| Yellowing leaves | Check for overwatering |
| Stunted growth | Provide enough sunlight and nutrients |
Frequently Asked Questions
How long does it take for an apple tree to bear fruit?
Depending on the variety and growing conditions, Apple trees usually take a few years to bear fruit. Generally, it takes about 2–5 years for dwarf and semi-dwarf trees to start producing apples. For standard-size apple trees, it can take 4–8 years before they bear fruit. With proper care, including watering, fertilizing, and pruning, your apple tree will eventually reward you with delicious apples.
Can I grow an apple tree in a pot?
Yes, you can grow an apple tree in a pot! Choose a dwarf or semi-dwarf variety, as these are better suited for containers. Use a large pot with good drainage, and fill it with quality potting soil. Place the pot in a sunny spot and water the tree regularly. Remember to fertilize and prune it as needed to keep it healthy and encourage fruit production. With proper care, you can enjoy growing an apple tree in a pot.
Conclusion
Now that you know how to grow an apple tree from an apple, you’re ready to start your journey toward growing your apple orchard. It takes time and patience, but the satisfaction of harvesting homegrown apples makes it all worth it. Regardless of whether you grow your apple tree indoors or outdoors, consistent care will ensure it develops healthily.
Recommended Products for Apple Tree Growth
- Organic Potting Soil for Fruit Trees
- Seed Starter Kit for Apple Trees
- Neem Oil for Pest Control
- Pruning Shears for Tree Maintenance

I’m John Doe, a Certified Master Gardener with over 20 years of hands-on experience in cultivating healthy and vibrant gardens. My expertise spans organic gardening, soil science, and sustainable pest control. I’ve worked extensively with community gardens and have a deep passion for sharing my knowledge to help others succeed in their gardening endeavors.


