How to Grow Asparagus
The prospect of harvesting tender, flavorful asparagus spears from your garden is an appealing one. While growing asparagus requires time and effort, this perennial vegetable offers a substantial reward: years of fresh produce. With a clear understanding of the planting process, careful soil preparation, and consistent maintenance, you can cultivate your asparagus patch successfully.
Asparagus: A Culinary and Nutritional Asset
Asparagus is a perennial vegetable known for its long, green spears and delicious, tender tips. It’s scientifically classified as Asparagus officinalis. Asparagus is valued for its flavor and nutritional benefits, being rich in vitamins A, C, E, K, and folate, as well as dietary fiber and antioxidants. It’s a versatile ingredient in the kitchen and can be prepared in various ways, such as grilling, roasting, steaming, or sautéing.
Apart from its culinary uses, asparagus has been traditionally used for its medicinal properties, including supporting kidney and urinary tract health. It’s also enjoyed for its decorative fern-like foliage, which can be used in floral arrangements.
How to Grow Asparagus: A Practical Guide
Asparagus is a vegetable that takes time to grow, but once it starts producing, it can give you fresh spears for many years. To make sure your asparagus plants grow strong and healthy, follow these simple steps.
Step 1. Choose the Right Variety

Before planting asparagus, it’s important to pick the right type that will grow well in your garden. Different asparagus varieties have different characteristics, such as color, size, and how well they resist diseases. Choosing the right variety will help ensure a healthy and productive asparagus bed.
Here are three popular types of asparagus:
1. Mary Washington
- This is a traditional green asparagus variety.
- It grows well in most climates and is very popular among gardeners.
- It has good resistance to diseases, meaning it stays healthier for longer.
- If you want a classic asparagus that is easy to grow, this is a great choice.
2. Jersey Knight
- This variety produces thicker, meatier spears compared to others.
- It grows very well in cold climates, making it a great choice for gardeners in cooler regions.
- It is also resistant to many common asparagus diseases, which helps it stay strong and productive.
- If you want a high-yielding, cold-hardy variety, Jersey Knight is a good option.
3. Purple Passion
- This is a unique purple-colored asparagus that looks beautiful and tastes slightly sweeter than green asparagus.
- It can be eaten raw because of its tender texture and mild, nutty flavor.
- When cooked, it turns green, but it still keeps its sweet taste.
- If you want something different with a great flavor, Purple Passion is a fun and delicious choice.
How to Choose the Best Variety for You
- If you want a disease-resistant and easy-to-grow variety, go for Mary Washington.
- If you live in a cold climate and need a strong, productive variety, choose Jersey Knight.
- If you like sweet, tender asparagus with a unique color, try Purple Passion.
Step 2: Prepare the Soil

Asparagus is a long-lasting plant that stays in the same place for many years, so it’s very important to prepare the soil properly before planting. Healthy, nutrient-rich soil will help the asparagus grow strong and produce spears for a long time. Follow these simple steps to create the best soil conditions for your asparagus plants.
Loosen the Soil
- Asparagus has deep roots, so it needs loose soil to grow well.
- Dig the soil 12–18 inches deep using a shovel or garden fork. This allows the roots to spread easily and grow deep into the ground.
- If the soil is too compact (hard and tight), the asparagus roots will struggle to grow, leading to weak plants and fewer spears.
Improve the Soil with Nutrients
- Asparagus plants need nutrient-rich soil to stay healthy and produce good harvests.
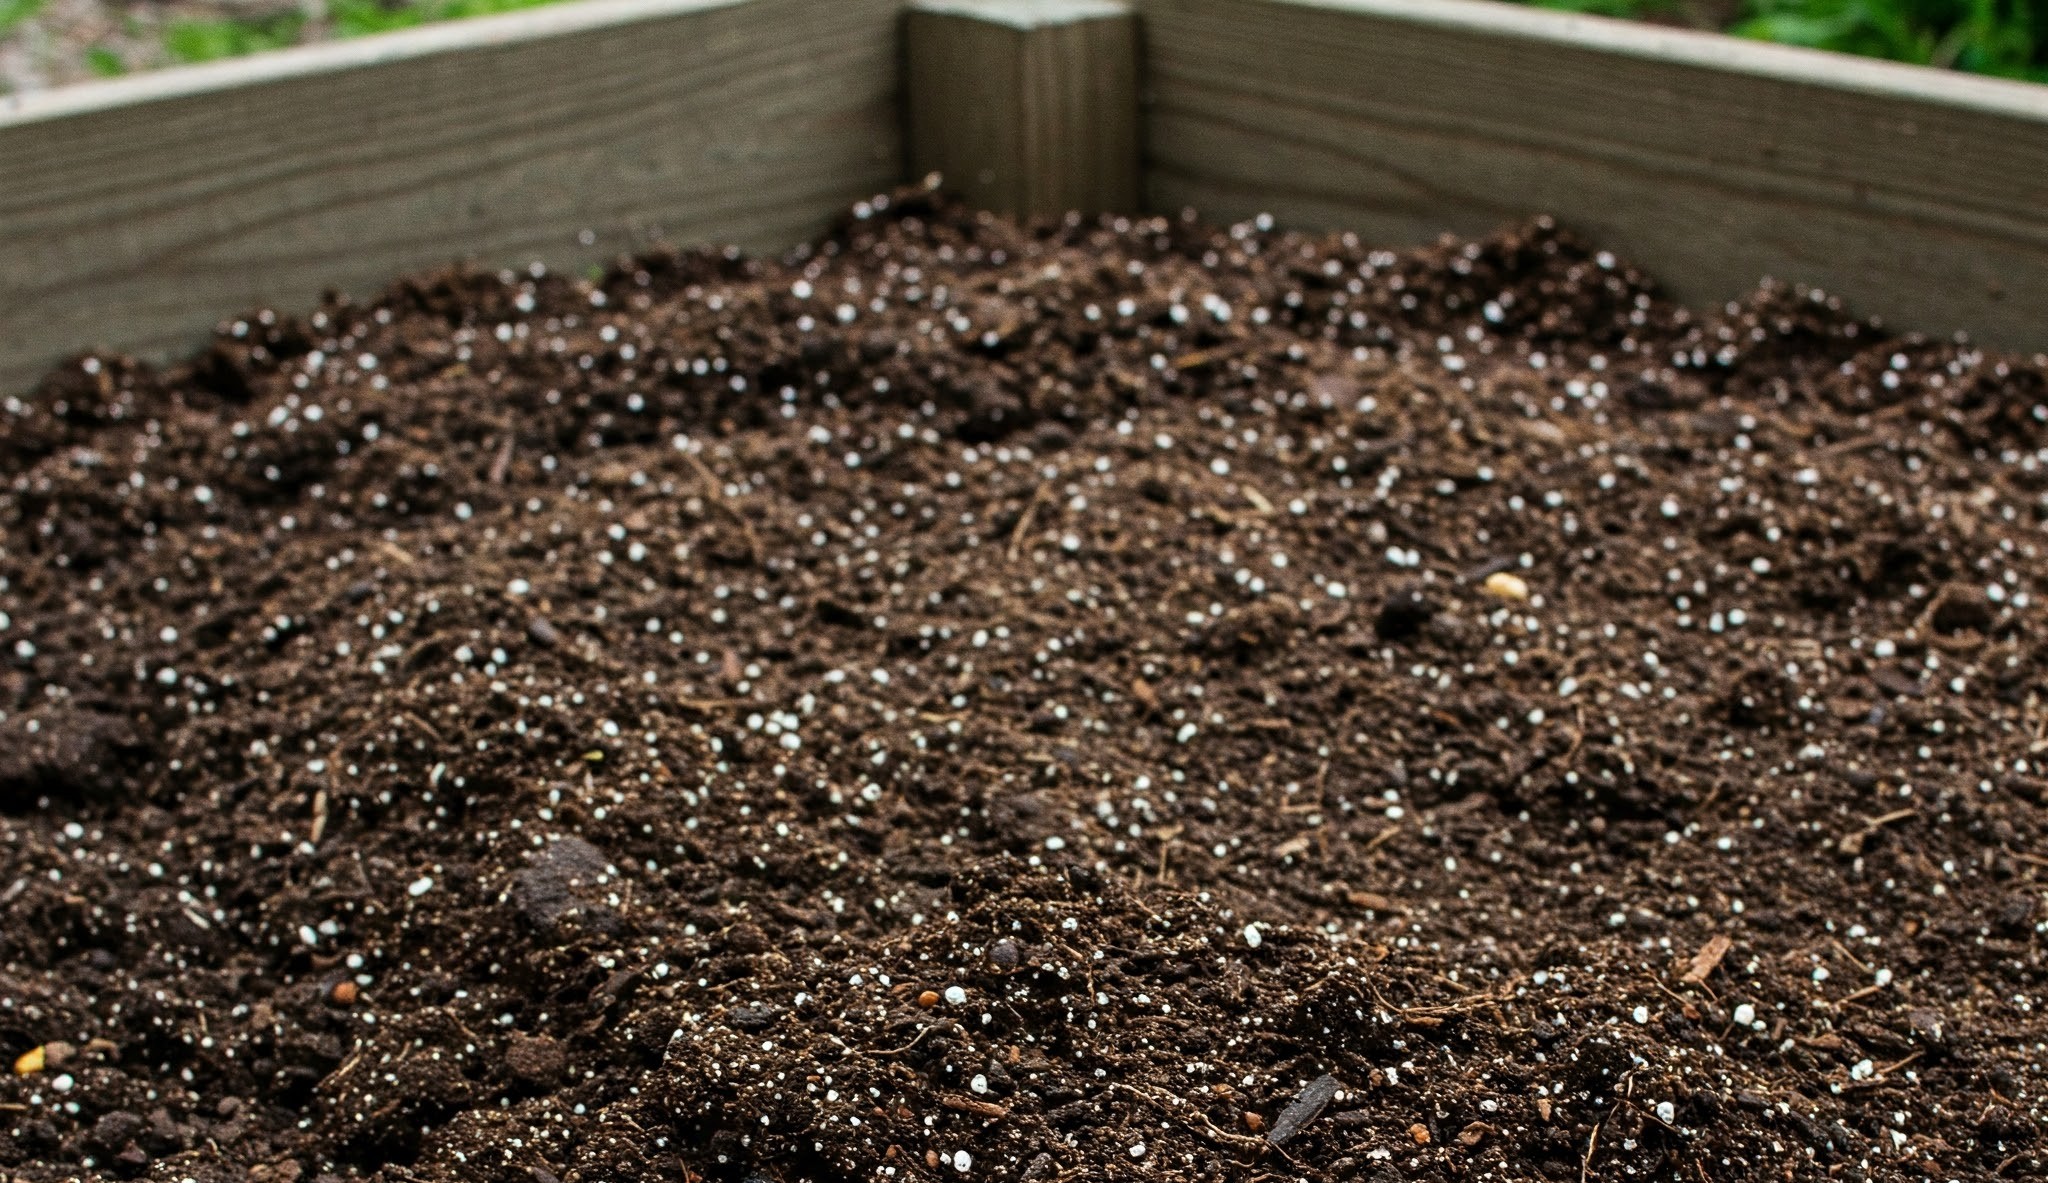
- Mix in organic compost or well-rotted manure before planting. This adds important nutrients like nitrogen, phosphorus, and potassium, which help the plants grow strong.
- You can also add bone meal or slow-release organic fertilizer for extra nutrients.
Ensure Good Drainage
- Asparagus does not like sitting in too much water because excess moisture can rot the roots.
- If your soil holds water for too long (such as heavy clay soil), improve drainage by:
- Mixing in sand or compost to help water move through the soil.
- Creating raised garden beds if your yard has poor drainage. This allows excess water to drain away and keeps the roots healthy.
- Good drainage is essential to prevent diseases and keep asparagus plants growing strong for years.
Step 3: Planting Methods

When growing asparagus, there are two main ways to plant it: the Crown Method and the Seed Method. Both methods work, but the Crown Method is recommended because it grows faster and produces asparagus sooner. Let’s go through both methods in simple terms.
1. Crown Method (Recommended)
Asparagus crowns are young plants with roots already developed. This method is faster and easier than growing from seeds because crowns are already one year old when you plant them.
Steps to Plant Asparagus Crowns:
- Dig Trenches – In your prepared soil, dig trenches (long, shallow ditches) about 6–8 inches deep. The trenches should be about 12–18 inches apart to give the plants enough space.
- Place the Crowns – Lay the crowns in the trench 12 inches apart. The roots should spread out naturally.
- Position the Buds Correctly – The small buds (growing points) should face upward because this is where the spears will grow from.
- Cover with Soil – First, cover the crowns with only 2 inches of soil. As the asparagus starts growing, slowly add more soil over time until the trench is completely filled.
- Water and Mulch – Water the planted crowns well and add mulch (like straw or dried leaves) to help keep moisture in and weeds out.
Why Choose the Crown Method?
- You can harvest asparagus sooner (usually in 2 years instead of 3).
- Crowns establish quickly and are more resistant to diseases.
- It is less work than growing from seeds.
2. Seed Method
If you want to grow asparagus from seeds, be prepared for a longer wait because it takes about three years before you can start harvesting. However, this method can be cheaper and allows you to grow more plants at once.
Steps to Grow Asparagus from Seeds:
- Start Indoors – Since asparagus seeds take a long time to germinate (sprout), plant them indoors in small pots 8–12 weeks before the last frost.
- Provide Warmth and Light – Keep the pots in a warm, sunny place (like a windowsill or under grow lights). The seeds will take 3–6 weeks to sprout.
- Transplant the Seedlings – Once the seedlings are about 10–12 inches tall, and all danger of frost has passed, you can move them to the garden.
- Plant Like Crowns – Space them 12 inches apart in the garden, just like you would with crowns.
- Care for Young Plants – Keep the soil moist but not too wet, and remove weeds carefully so they don’t compete with the asparagus seedlings.
Why Choose the Seed Method?
- It’s cheaper than buying crowns.
- You can grow more plants at once if you have a large garden.
- Some gardeners believe plants grown from seeds live longer than crown-planted ones.
Which Method Should You Choose?
- If you want faster results, go with the Crown Method.
- If you have patience and want to grow from scratch, the Seed Method can be an option.
Whichever method you choose, taking good care of your asparagus plants will ensure many years of delicious, homegrown asparagus!
Step 4: Covering the Plants

Once you have planted the asparagus crowns or seedlings in the ground, you need to cover them properly so they can grow strong and healthy. Unlike other plants, asparagus needs a slow covering process to help it develop deep and strong roots.
Start with a Light Covering
- After placing the asparagus crowns or seedlings in the trench, cover them with about 2 inches of soil.
- This light layer of soil protects the roots while still allowing the small asparagus spears to grow up toward the surface.
- If you bury them too deep all at once, the young shoots may struggle to push through the soil.
Gradually Add More Soil
- As the asparagus spears begin to grow and reach a height of about 2–3 inches, slowly add more soil to the trench.
- Keep adding small amounts of soil every few weeks until the trench is filled.
- This gradual process encourages the roots to grow deeper, making the plant stronger.
Why Is This Important?
- Encourages strong root growth – Deeper roots mean the plant can take in more nutrients and water.
- Prevents weak, thin spears – If you cover the crowns too quickly, they may not grow properly.
- Protects the plants – A slow covering process shields young spears from harsh weather and pests.
After the trench is filled, add a layer of mulch (like straw or dried leaves) on top to keep the soil moist and prevent weeds from growing. Water the plants regularly to help them establish strong roots.
Step 5: Mulching and Watering

Taking care of asparagus doesn’t stop after planting. Mulching and watering are two important steps to keep your asparagus bed healthy and productive. These simple practices help retain moisture, prevent weeds, and ensure the plants grow strong for many years.
Mulching the Asparagus Bed
Mulch is a protective layer placed on top of the soil. It helps in many ways, such as keeping the soil moist, stopping weeds from growing, and protecting the plant roots.
How to Mulch Asparagus:
- After planting, spread a layer of mulch around the asparagus plants. The mulch should be about 2–4 inches thick.
- Use natural materials like:
- Straw – Keeps moisture in and allows air to circulate.
- Dried leaves – A free and eco-friendly option.
- Grass clippings – This breaks down quickly and adds nutrients to the soil.
- Wood chips or bark – Lasts longer and helps control weeds.
- Keep the mulch a few inches away from the base of the spears to prevent rot.
Watering the Asparagus Plants
Asparagus needs regular watering, but it is important not to overwater. The goal is to keep the soil evenly moist but not soggy.
How to Water Asparagus Properly:
- Water deeply once a week – Asparagus roots grow deep, so it’s better to give them a good soak rather than light, frequent watering.
- During hot or dry weather, check the soil more often and water if the top few inches feel dry.
- Avoid overwatering, as asparagus roots can rot if they sit in too much water.
- If your soil does not drain well, water less often, and consider raising your garden bed for better drainage.
For best results, water early in the morning to allow the soil to absorb moisture before the sun gets too hot. Continue mulching and watering regularly, especially in the first few years, to establish a strong asparagus bed. With proper care, your asparagus will thrive and provide delicious spears for many years!
Asparagus Growth Stages
| Growth Stage | Description | Timeframe |
|---|---|---|
| Planting | Crowns or seeds are placed in trenches | Spring |
| Establishment | Spears begin growing but should not be harvested | Year 1–2 |
| Maturity | Full production with annual harvesting | Year 3+ |
| Dormancy | Leaves turn yellow; plants rest for winter | Fall-Winter |
Best Conditions for Growing Asparagus
Before planting, ensure the right environment for your asparagus bed.
- Climate: Grows best in temperate regions with cold winters.
- Soil: Prefers sandy, well-draining soil with a pH of 6.5–7.5.
- Sunlight: Requires at least 6–8 hours of direct sunlight daily.
- Spacing: Plant crowns 12–18 inches apart to allow room for root growth.
- Watering: Needs consistent moisture but should not be waterlogged.
Caring for Asparagus Plants
To keep asparagus thriving, follow these care tips:
- Fertilization: Apply a balanced fertilizer in early spring and after harvest.
- Weeding: Remove weeds manually to prevent competition for nutrients.
- Pest Control: Monitor for common pests like asparagus beetles and aphids.
- Winter Prep: Cut back yellowed ferns and apply mulch for winter protection.
Harvesting Asparagus
Once asparagus reaches maturity, you can begin harvesting.
- First Harvest (Year 3): Pick spears when they are 6–8 inches tall.
- Harvesting Method: Use a sharp knife or snap-off spears at ground level.
- Duration: Harvest for about 4–6 weeks, then allow ferns to grow.
- Annual Yield: Expect ½ to 1 pound per plant per season.
Common Asparagus Growing Problems and Solutions
| Problem | Cause | Solution |
|---|---|---|
| Yellowing Leaves | Overwatering or poor soil drainage | Improve soil drainage, reduce watering |
| Thin Spears | Overharvesting or poor nutrients | Allow full fern growth, fertilize regularly |
| Asparagus Beetles | Pests feeding on spears and foliage | Hand-pick beetles, use neem oil |
| Fungal Diseases | Humid conditions, poor airflow | Space plants properly, apply fungicide |
Frequently Asked Questions (FAQs)
How long does it take to grow asparagus from seed?
Growing asparagus from seed takes patience. It usually takes about 3 years for the plants to be ready for harvest. During this time, the seedlings grow and establish strong roots. Once mature, asparagus plants can keep producing for many years.
Can I grow asparagus in containers?
Yes, you can grow asparagus in containers! Choose a large, deep pot with good drainage. Plant asparagus crowns in well-draining soil, and place the container in a sunny spot. Water regularly to keep the soil moist but not soggy. With proper care, you can enjoy fresh asparagus from your container garden!
When is the best time to plant asparagus?
The best time to plant asparagus is in the early spring when the soil is just starting to warm up. This allows the young plants to establish themselves before the heat of summer. Planting asparagus crowns or seeds in early spring gives them a strong start for healthy growth.
How do I store harvested asparagus?
To keep harvested asparagus fresh, trim about an inch off the bottom of the spears. Stand them upright in a jar with about an inch of water, like a bouquet. Loosely cover the tops with a plastic bag and refrigerate. This way, your asparagus will stay fresh for up to a week.
Conclusion
Since growing asparagus requires patience, proper soil preparation, and yearly maintenance, starting with the right foundation ensures a long-lasting, productive garden. By providing full sun, regular watering, and pest management, your asparagus plants will reward you with delicious harvests for decades. With proper care, you’ll enjoy fresh, homegrown asparagus every spring.
Recommended Gardening Tools for Growing Asparagus
- Organic Compost for Asparagus Soil
- Heavy-Duty Garden Trowel
- Mulch to Retain Moisture
- Neem Oil for Pest Control

I’m John Doe, a Certified Master Gardener with over 20 years of hands-on experience in cultivating healthy and vibrant gardens. My expertise spans organic gardening, soil science, and sustainable pest control. I’ve worked extensively with community gardens and have a deep passion for sharing my knowledge to help others succeed in their gardening endeavors.


